
Fresh Valley Farms turkeys are slow-grown, pasture-raised, and full of real flavor. That means they cook differently than supermarket birds. They deserve a method that protects the breast meat, fully cooks the legs, and lets the natural taste shine.
A great turkey does not need tricks. It needs time, salt, and steady heat. This method focuses on even cooking, juicy breast meat, and properly rendered skin. This recipe is inspired by the work of J. Kenji López-Alt, whose approach focuses on food science, temperature control, and simple techniques that work in home kitchens.
Most dry turkeys fail for one reason. The breast cooks faster than the legs. This recipe slows things down, dries the skin properly, and uses temperature instead of guesswork. You don’t have to baste the bird. You also do not stuff the bird unless the stuffing is preheated to at least 180°F before the bird is stuffed.
Here are the overall cooking technique for a holiday roast turkey:
- Dry brining seasons the meat deeply and keeps it juicy.
- Air-drying the skin in the fridge allows it to crisp.
- High oven heat at the start jump-starts browning.
- Lower oven heat finishes the bird gently.
- An instant-read digital thermometer prevents overcooking.
Ingredients
- 1 whole turkey (10 to 14 lbs is ideal for most home ovens)
- Salt (About 1 tablespoon per every 4 lbs of turkey)
- Freshly ground black pepper
- Melted butter or neutral oil (About 2 tablespoons)
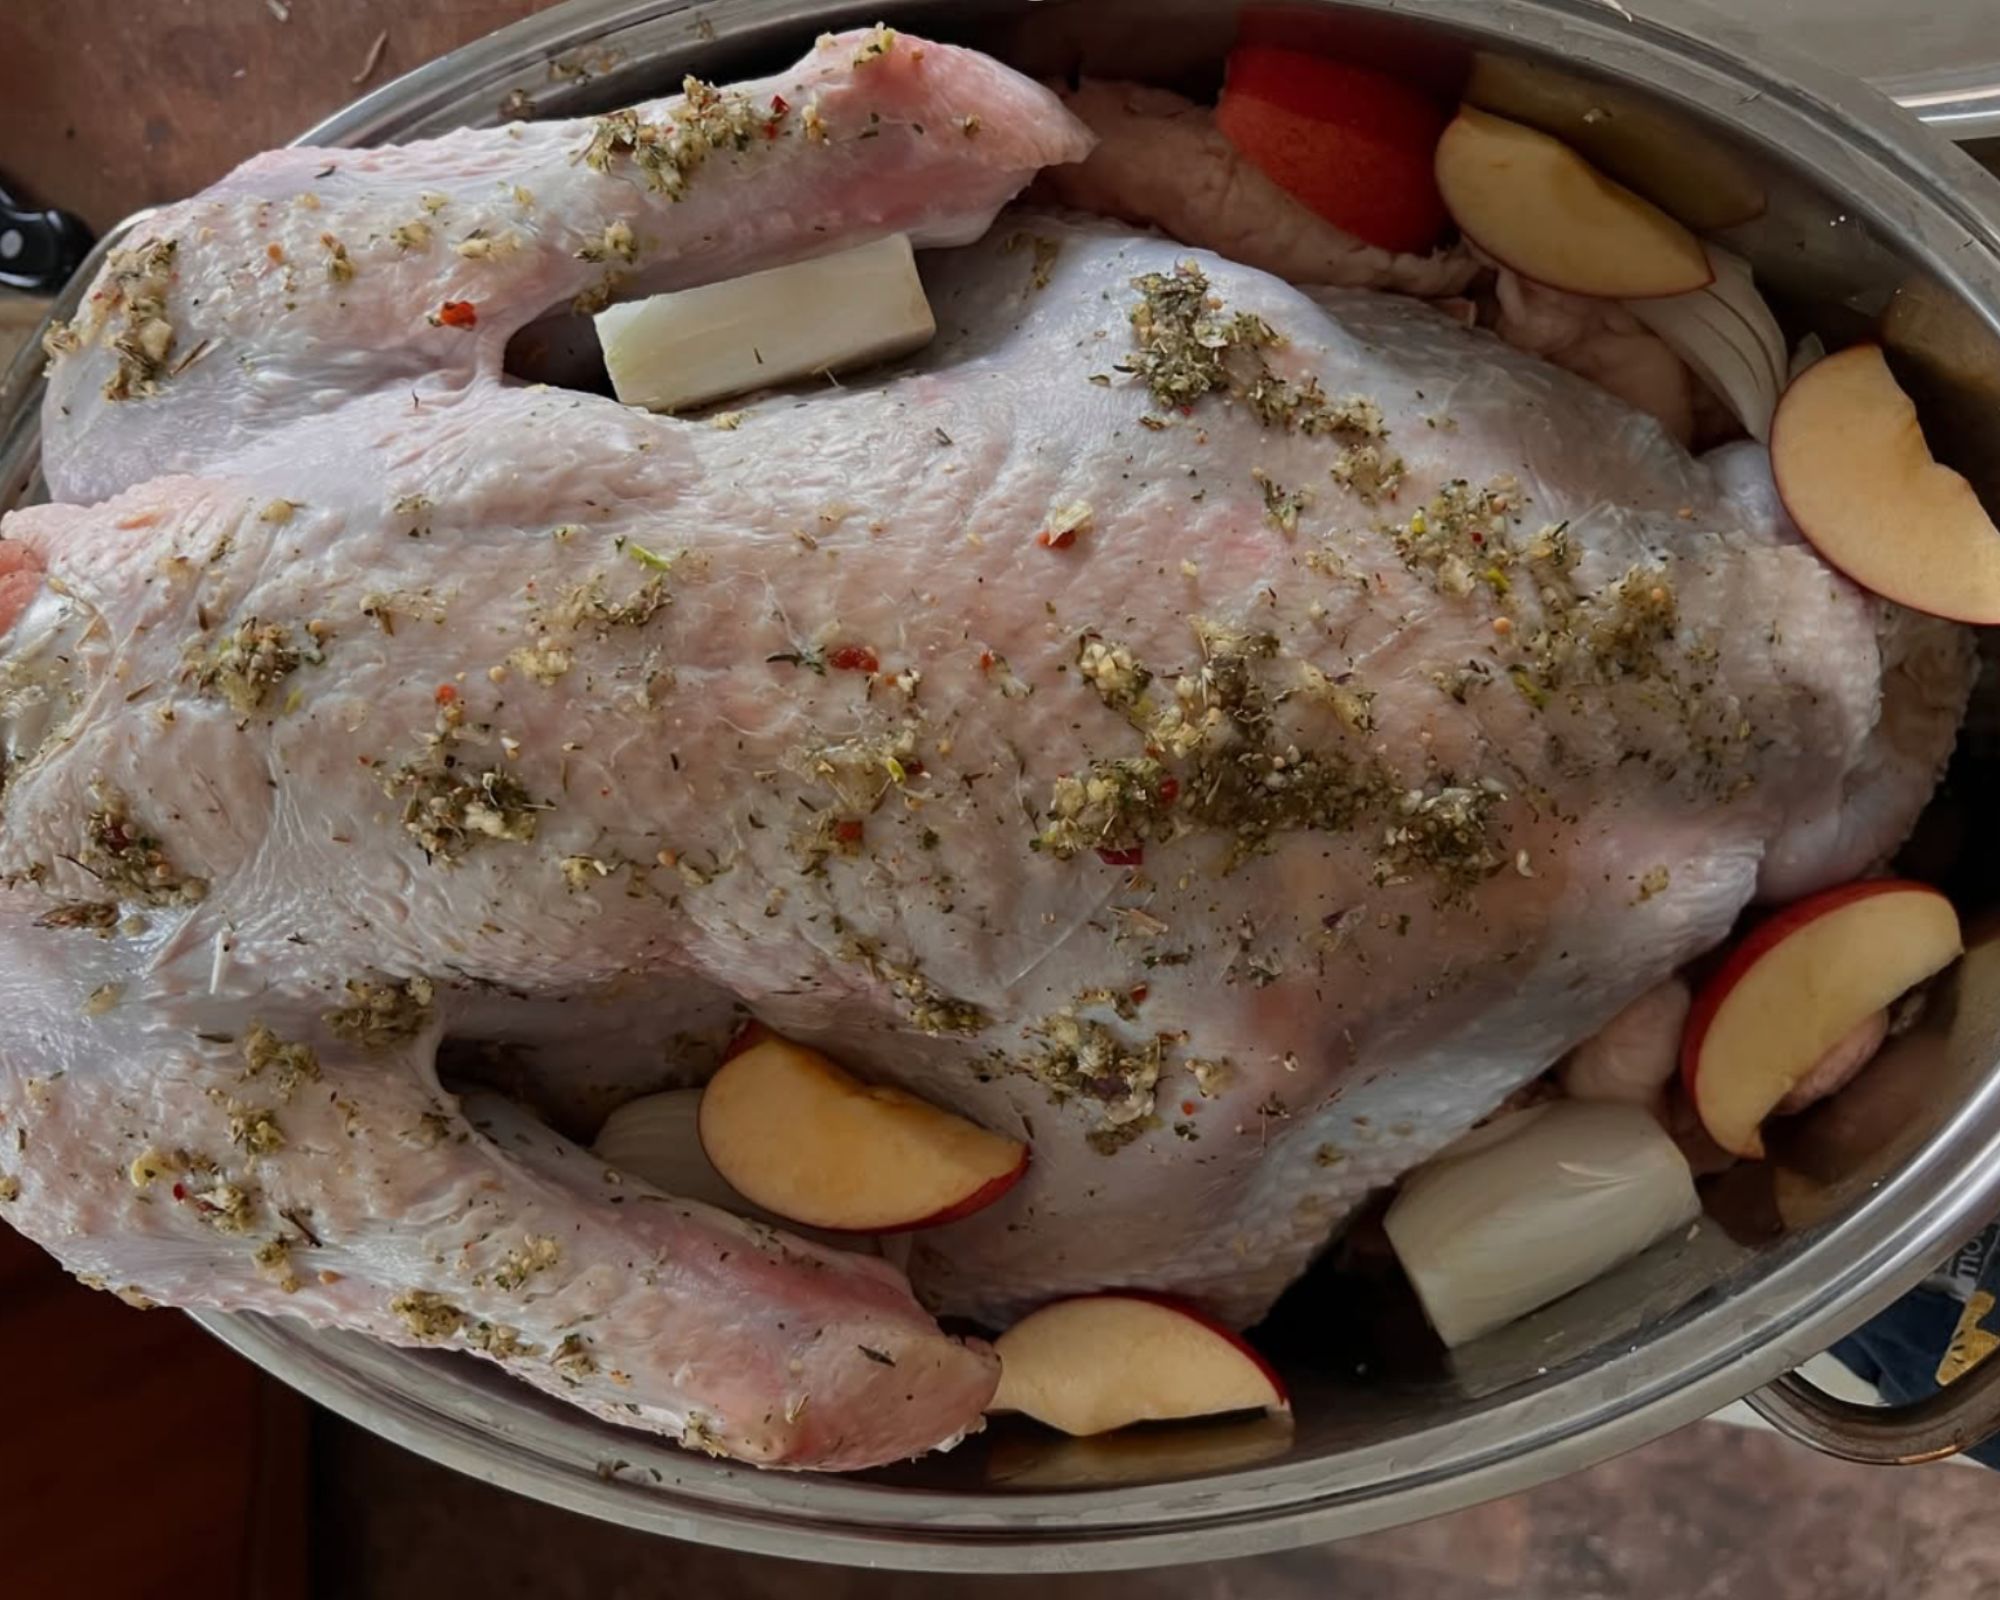
Optional aromatics include fresh woody herbs like thyme or rosemary, alliums like onion or garlic, and produce like carrots, celery, or apples.
Recipe
Step 1. Dry brine the turkey (1 to 2 days before cooking)
Remove the turkey from its packaging. Remove the neck and giblets.
Pat the turkey very dry with paper towels.
Season the entire turkey generously with kosher salt. Season the outside and inside the cavity. Salt moves into the meat and helps it retain moisture. Do not add pepper yet.
Place the turkey on a rack set over a tray and refrigerate uncovered for at least 24 hours. 48 hours is even better. Leaving the turkey uncovered dries the skin so it can crisp properly in the oven.
Step 2. Prepare the turkey for roasting
Remove the turkey from the fridge about 1 hour before roasting.
Pat the skin dry again.
Rub the skin lightly with oil or melted butter.
Season with black pepper.
Do not truss the legs tightly. Let air circulate around them.
If you like, place chopped onion, carrot, celery, and herbs in the roasting pan under the rack. These add flavor to drippings but do not affect the turkey itself.
Step 3. Preheat the oven
Set the oven to 450°F (230°C).
Position a rack in the lower third of the oven.
This initial high heat helps start browning and rendering the skin.
Step 4. Start roasting hot, then reduce heat
Place the turkey breast-side up on the rack.
Roast at 450°F for 30 minutes.
After 30 minutes, reduce the oven temperature to 325°F (165°C) without opening the door.
Step 5. Monitor temperature, not time
Continue roasting.
Insert an instant-read thermometer into the thickest part of the breast and thigh.
Target temperatures:
- Breast: 150 to 155°F
- Thigh: 165 to 170°F
Total cooking time is usually about 3 hours for a 12 to 14 lb turkey, but always trust temperature over the clock.
If the breast is browning too fast, loosely tent it with foil.
Step 6. Rest the turkey
Remove the turkey from the oven.
Let it rest at least 30 minutes, uncovered.
Resting allows juices to redistribute and finish cooking gently. The breast temperature will rise slightly during this time.
Do not skip this step.
Step 7. Carve and serve
Carve the turkey using a sharp knife.
Start with the legs and thighs, then slice the breast across the grain.
Serve immediately.
Leave a Reply